Homemade Vanilla Extract

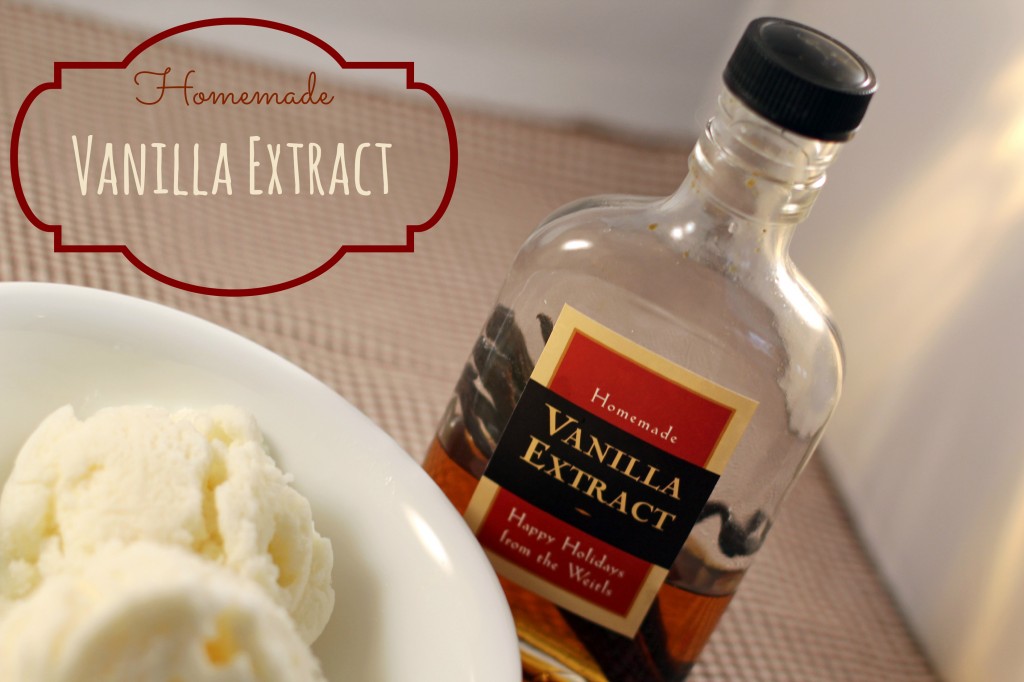
The secret ingredient in the Snow Day Ice Cream I posted earlier in the week is good quality vanilla extract.  After paying through the nose for vanilla for several years, I ran across several Pinterest pins that discussed recipes. In June, I decided to give it a whirl and at Christmas, I gave bottles of this tasty Homemade Vanilla Extract to nearly everyone on my gifting list.

The key ingredient to this recipe is time!  It’s really quite easy to throw together and the taste is delicious — but it really needs a good six months to become worthwhile.  That’s why I had to make it in June for Christmas gifts!

I ordered 24 Italian Glass Flasks and vanilla beans in bulk from Amazon.  I picked up several large bottles of vodka from Costco and then I was ready to make my extract.  I sliced the vanilla beans in half and split them open.  In each bottle, I used two full vanilla and used a funnel to fill the bottle with vodka.  Once all of the bottles were filled, I put them in one of our storage rooms so they would have a cool dry place to work their magic.  I tried to go in and shake them every week or so but there were definitely some weeks where I forgot about them.

To finish them off and make them “gift worthy” I purchased a Groupon for My Own Labels and customized the label you see above.

I love this type of an item as a gift since it’s usable.  It’s not just another trinket that’s going to take up space and end up in the garage sale pile in a year or two.  Now, I need ideas for what to do for everyone for next year…


Snow Day Ice Cream

If you’re in one of the many states currently experiencing a winter storm, let me introduce you to a beautiful little secret – snow ice cream.  My kiddos aren’t huge fans of hot chocolate – I think in part because it’s hot.  Bo will drink it but it truly isn’t something that the kids are excited about.  (And yes, I find this very strange — personally, I love hot chocolate.  Maybe when they are a bit older!)

The trio was dismissed from school early today and Mike’s work closed early as well due to our winter storm.  I had everyone home for the afternoon and we made the most of it by playing out in the snow.  We “helped” Mike shovel the driveway (he mostly used the snow blower) and then built a snowman and a snow fort in the yard.

After we stripped off our wet snow pants and boots, I threw together this snow ice cream – literally in minutes.  This recipe is extremely easy and provides instant gratification.  The trio all sat on the barstools at the counter and slurped this up in no time.  It’s delicious!  If you like vanilla ice cream, I promise this will be a recipe you will enjoy!

Snow Day Ice Cream
Author: 
Prep time: 
Total time: 
Serves: 6
 
Ingredients
  • 1 cup white sugar
  • 3 Tbsp good quality vanilla extract
  • 1 cup milk
  • 1 cup heavy whipping cream
  • snow
Instructions
  1. In a medium bowl, combine the white sugar with the vanilla. Add the milk and heavy cream and stir until well combined. Using an ice cream scoop or measuring scoop, scoop packed snow into individual bowls (I filled a large bowl with snow and brought it inside). Pour cream mixture over the top of each scoop until it looks coated and absorbed. Serve immediately.

Homemade Thin Crust Pizza

Last week, we had the Kilmartin’s over for a Valentine’s Day dinner.  Mike asked me to invite them weeks ago as he was planning to order three cakes (a redo of our wedding cakes) and wanted to be sure there were plenty of people here to help us eat them.

I wanted to do a Valentine theme for the kiddos – so I decided to try my hand at heart pizza.  I made one big heart and used heart cookie cutters to make smaller individual pizzas for the kiddos. Laura brought heart shaped jigglers and cut strawberries into hearts and I also made peanut butter cookies with Dove heart chocolates on top for our heart- themed meal.

Apparently I was feeling lazy as I didn’t take a picture with my good camera of any of our heart-themed food.  However, I did snap this photo of our large heart pizza with my phone.  This one is topped with Italian sausage.  Yum!  The pizza was a hit — I doubled the recipe for the dough and we had just enough for the 10 of us.

Homemade Thin Crust Pizza
Author: 
Prep time: 
Cook time: 
Total time: 
Serves: 4
 
Ingredients
  • 2¼ cup flour – white/wheat/ or some combo
  • ½ tsp salt
  • 2 Tbsp. olive oil
  • 1 pkg. dry yeast
  • ¼ cup + ½ cup warm water
  • 1 Tbsp. brown sugar or alternative sweetener
Instructions
  1. Combine and mix ½ cup of warm water and sugar. Dissolve yeast in sugar water mix and let stand for a minimum of 5 minutes. Put flour and salt in the food processor and blend in oil, ½ cup of water, and yeast mixture. Process until a sticky ball forms. Transfer dough into a mixing bowl oiled or sprayed with PAM. Cover and let rice until doubled – about 1 to 1 and ½ hours).
  2. Preheat oven to 500 with pizza stone inside. Roll dough flat on a floured surface until 14 inches in diameter. Place on a pizza palate that is sprinkled with cornmeal and poke holes in crust with fork. Slide the crust into the oven and bake for 10 to 15 minutes until lightly golden. Remove and add toppings. Reduce oven temperature to 425. Return pizza to the oven and bake until the cheese is melted (5-7 minutes). Enjoy!


Bacon, Fried Egg, & Avocado Breakfast Sandwich

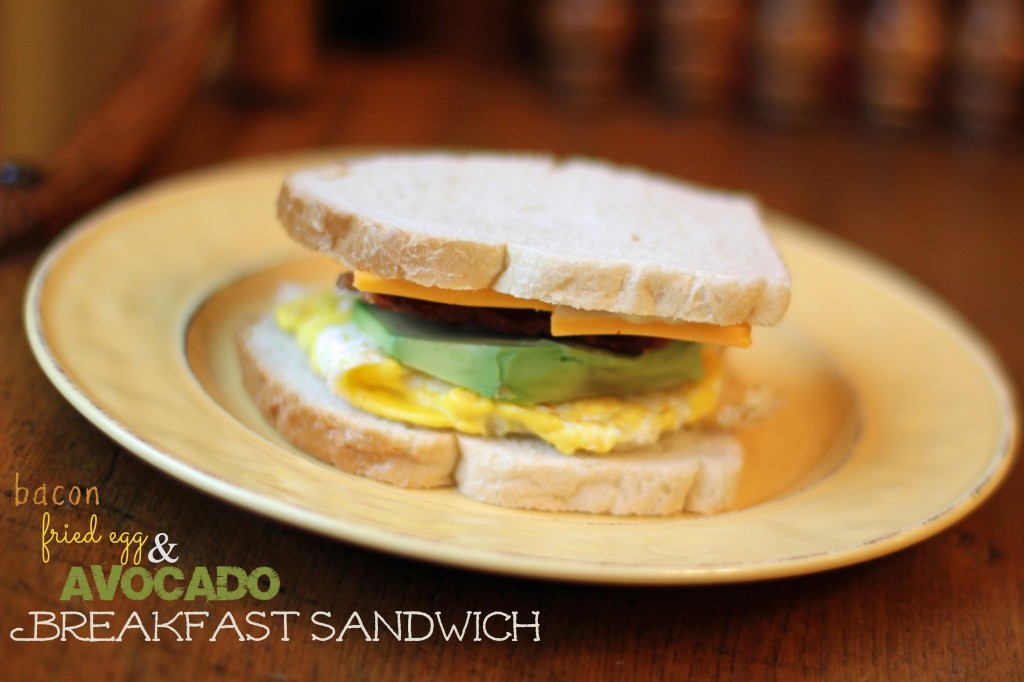
On Sunday morning, I awoke to the smell of bacon.  Mike was making these tasty, bacon, fried egg, and avocado breakfast sandwiches.  I emerged from our room just in time, as the kids were begging for pancakes.  While I made pancakes for the trio, Mike made these for us, and they were quite tasty.  I love avocado and bacon in all forms.

Overall, the sandwich itself is pretty basic – but the avocado/Miracle Whip mixture is the perfect, creamy, condiment for this breakfast sandwich – with just a hint of kick.  Mike rarely makes dinner (except for guac) but at least one weekend morning, I am promised some type of breakfast concoction. I’ll definitely be requesting these sandwiches again in the future.

These sandwiches were inspired by Better Homes and Gardens Special Interest Publications HomeMade 115 Recipes for Home-Cooked Comfort.

Bacon, Fried Egg, & Avocado Breakfast Sandwich
Author: 
Prep time: 
Cook time: 
Total time: 
Serves: 2
 
Ingredients
  • 1 large avocado
  • 2 Tbsp. light Miracle Whip
  • 1 tsp. lemon juice
  • 1 tsp. minced garlic
  • 1 tsp. chili powder
  • 2 eggs
  • pepper
  • 2 slices of hearty bread (we used country white)
  • 2 slices of cheddar cheese
  • 2 slices crispy bacon
Instructions
  1. Mash half of the avocado in a small bowl. Stir in Miracle Whip, lemon juice, garlic, and chili powder. Slice the remaining avocado and set aside. Spray a skillet with olive oil spray and break eggs into the skillet. Sprinkle with pepper and cook for 4-5 minutes until the yolks are the desired doneness. Cut the bread in half (or use 4 slices - our bread was long) and layer our breakfast sandwich. Bread - cheese - avocado slices - bacon - fried egg. Spread the other half of the bread with the sauce mixture and place on top. Enjoy!

Vegan Banana Bread with Coconut Oil and Flax

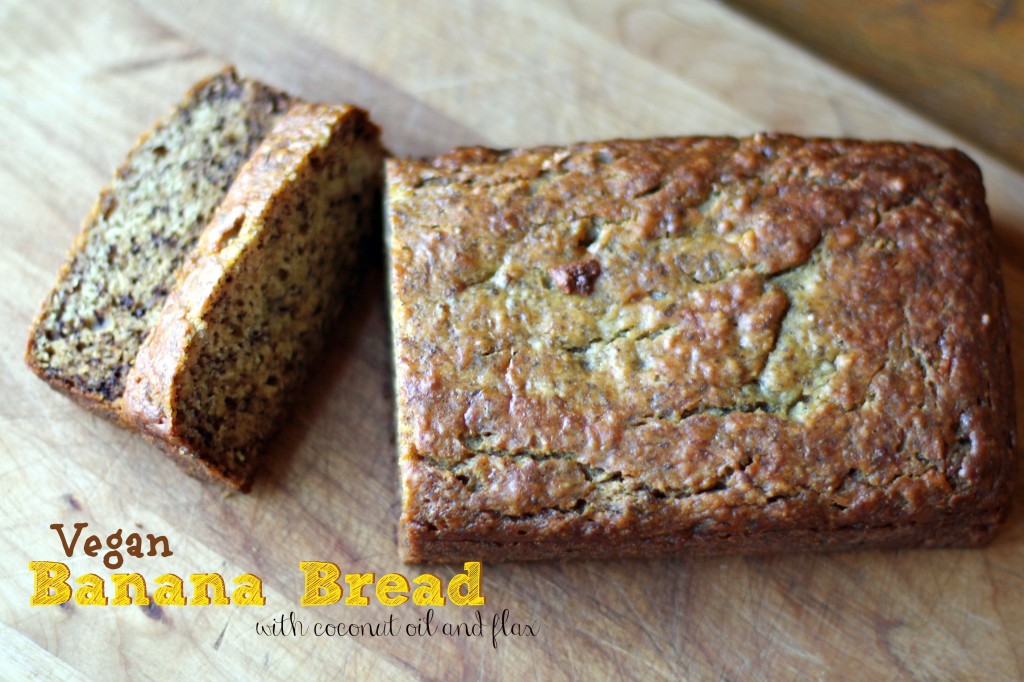
The picture doesn’t begin to do this banana bread justice.  It’s delicious!  Moist, yummy, and highly munchable.  My kids love it.  So much so that Clara and Anna got in trouble on Friday afternoon for ripping chunks of the warm loaf off and eating them in the kitchen while I was folding laundry.  Needless to say, even though the picture isn’t great, our loaf of banana bread didn’t look this nice for long…

I originally developed this recipe when I was out of eggs and wanted to make banana bread by replacing the eggs with flax.  I loved how it turned out so much that I’ve made it this way numerous times.  I think it yields a more flavorful loaf — with loads of extra fiber!

We ate this bread for dessert on Friday and breakfast on Saturday.   Gotta love recipes that double as a dessert and a breakfast! This banana bread receives 4 Wooden Spoons from our family.  Mike won’t touch anything that has banana involved.

5.0 from 1 reviews
Vegan Banana Bread with Coconut Oil and Flax
Author: 
Prep time: 
Cook time: 
Total time: 
Serves: 4
 
Ingredients
  • 2 Tbsp flax seed mixed with 6 Tbsp water
  • 2 medium sized very ripe bananas, mashed
  • ½ cup sugar (I am sure you could replace with agave or honey, but I haven't tried it)
  • ½ cup applesauce
  • 3 Tbsp coconut oil
  • 1 tbsp vanilla
  • 1 tsp baking soda
  • 1.5 C flour (white/wheat/or a mixture)
  • ½ tsp salt
Instructions
  1. Preheat oven to 350. In a measuring cup, combine flax and water and stir. In a medium bowl, mash the bananas with the sugar, applesauce, and vanilla. Add the flax mixture and then add the baking soda, salt, and flour. Mix until just combined. Bake for 55 minutes. Moist and delicious! This recipe makes 1 loaf.


OREO Cupcakes

Last Friday, we celebrated the Kilmartin trio’s birthday’s with bowling and pizza.  I volunteered to make the cupcakes — any excuse to bake some sweet sugary goodness!

That morning, I settled on OREO cupcakes.  These cupcakes spice up a traditional boxed cake mix, but could easily be made completely from scratch as well.  If you’re a cookies-n-cream fan, you’ll love these.  They smell and taste delicious!

All of the kids enjoyed these cupcakes.  And so did the grown-ups too!  I sent the leftovers home with Laura so I wouldn’t devour all of them myself!

OREO Cupcakes
Author: 
Prep time: 
Cook time: 
Total time: 
Serves: 24
 
Ingredients
  • 1 bag OREO cookies
  • 1 Devil's Food cake mix
  • 3 eggs
  • ½ cup vegetable oil
  • ½ cup water
  • 1 - 8 oz. cream cheese, softened
  • 1 stick butter, softened
  • 2 cups powdered sugar
  • 1 tsp. vanilla
  • mini OREO to garnish (optional)
Instructions
  1. Preheat oven to 350. Line cupcake cups with liners and place one OREO in the bottom of each cup. Prepare the cake mix according to package directions. Mine called for 3 eggs, ½ cup vegetable oil, and ½ cup water. Once the mix is prepared, chop half of the remaining OREOs into bite sized pieces and fold into the cake mix. Using an ice cream scoop, fill each cupcake liner until it is ¾ full. Bake according to package directions.
  2. Allow the cupcakes to cool and then prepare the frosting. Using a blender or food processor, puree the remaining OREOs into crumbs. In a small bowl, beat the cream cheese and butter until well combined. Add the vanilla. Slowly add the powdered sugar, ½ cup at a time until the desired consistency is reached. Fold in the OREO crumbs. Scoop the frosting mixture into a large Ziploc bag. Cut the end off one side of the bag to pipe the frosting on to each cupcake. Garnish with a mini OREO if desired.


Beer Nuts

On Saturday morning, Mike left early for work and Bo was awake nearly seconds later.  Since the girls were still asleep, Bo and I curled up on the couch together and indulged in a bit of Food Network.  He loves to watch the cooking shows with me and is an avid Pioneer Woman fan. 🙂

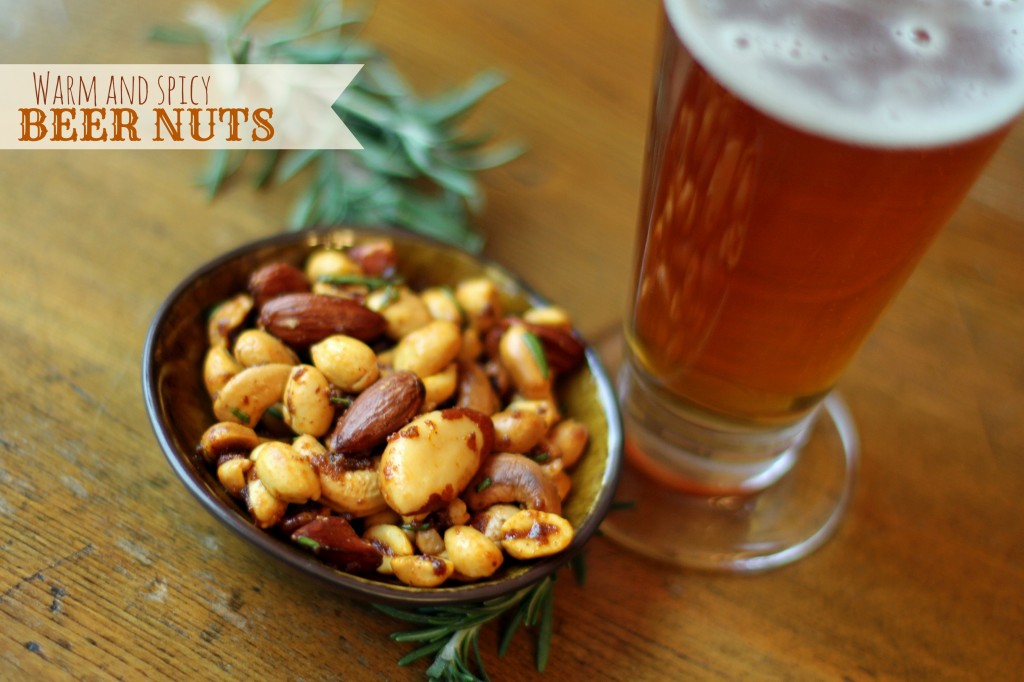
The show that we watched was about snack foods and they were talking about bar nuts from a bar in New York City.  Those nuts were the inspiration for these delicious beer nuts that I plan to make again for the Superbowl and for Mike’s upcoming Poker Night.  They are the perfect mixture of spice and the salty nuts make beer go down so much easier.

Until this year, I’ve never been a beer drinker, but I’ve started to come around and drink a Miller 64 occasionally, mostly to avoid the calories in hard alcohol.  However, it’s only good with something salty – chips, crackers, or nuts preferably.

Beer Nuts
Author: 
Prep time: 
Cook time: 
Total time: 
Serves: 6-8
 
Ingredients
  • 1 can salted mixed nuts
  • 1 Tbsp butter, melted
  • ½ tsp cayenne pepper
  • 1 Tbsp brown sugar
  • 2 Tbsp chopped fresh rosemary
Instructions
  1. Preheat oven to 350. Spread nuts in an even layer on baking sheet and bake for 10 minutes. Meanwhile, melt the butter and in medium sized bowl, combine the butter, cayenne, brown sugar, and rosemary. Immediately when removing nuts from the oven, scoop into the bowl with the butter ingredients and stir well to toss and distribute the butter mixture evenly. Serve immediately with a cold beverage of your choice.


Banana Cinnamon Donuts

I’ve been pining for donut pans for awhile.  I blame Pinterest.  Of course.  For Christmas, my MIL and Mike both bought me donut pans — one normal size and one mini and I’m enjoying trying my hand at baking donuts.

My trio loves anything with the word donut in it — so even if a few of the ingredients are questionable to them (such as bananas — Anna is the only one who will actually eat a banana) they will still eat it baked into a donut form.

Over the weekend, I had some bananas that were extra ripe, so I threw together these yummy banana cinnamon donuts.  I won’t say they are healthy — they aren’t.  But they still have to be better than the fried and processed ones.  They received Four Wooden Spoons from my family.  Mike wouldn’t even try them.  It’s the banana thing…  Honestly, the banana flavor isn’t super strong and if he didn’t know he wouldn’t even know it was in there.

Banana Cinnamon Donuts
Author: 
Prep time: 
Cook time: 
Total time: 
Serves: 8
 
Ingredients
  • 3 small ripe bananas
  • ½ cup sugar
  • ½ cup vanilla Greek yogurt
  • ¼ cup unsalted butter, melted
  • 2 eggs
  • 1 tsp vanilla extract
  • 1 heaping tsp cinnamon
  • 2½ cups flour
  • 1 tsp. baking powder
  • ½ tsp baking soda
  • ¼ tsp salt
  • 1 cup cinnamon chips (optional)
  • ¼ cup melted butter (topping)
  • ½ cup sugar and 2 Tbsp. cinnamon mixed (topping)
Instructions
  1. Preheat the oven to 325F. In a stand mixer, add the banana, sugar, and Greek yogurt. Add melted butter, eggs, and vanilla. Add flour, baking powder, and baking soda and mix until flour is incorporated. Fold in the cinnamon chips if desired. Spray donut pans with PAM baking. Scoop the batter into a Ziplock bag and snip the corner of one side of the bag to pipe into donut pans. Pipe batter ¾ full. Bake for 12 to 15 minutes. Remove on to cooling racks. While donuts are still warm dip into melted butter and roll in cinnamon/sugar mixture. Enjoy!


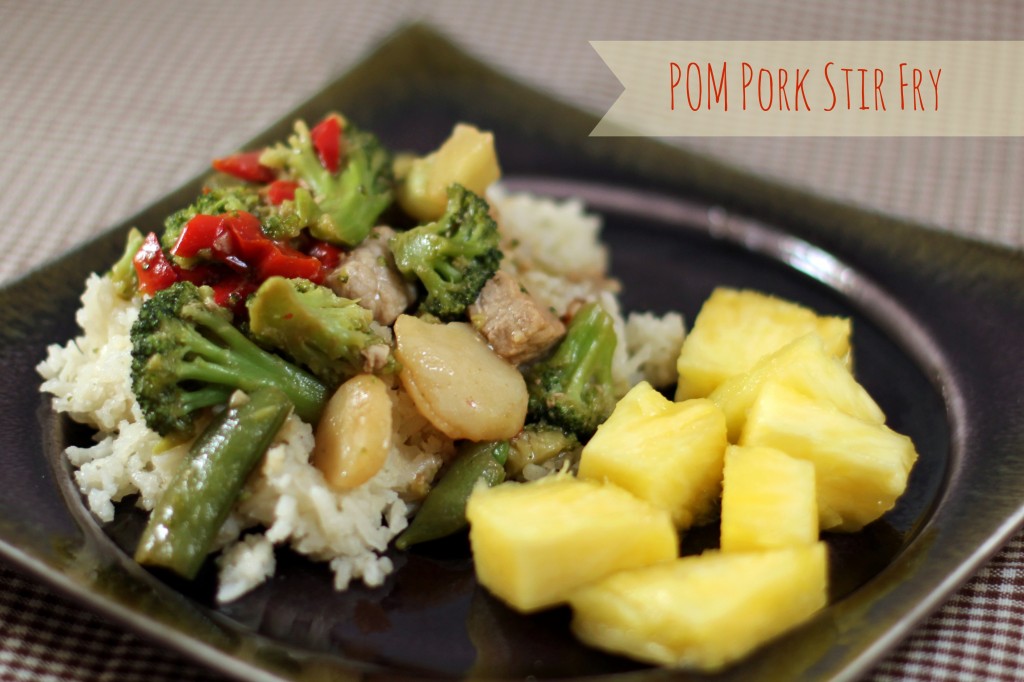
POM Pork Stir Fry

Last week, I thawed a few pork chops and instead of our regular BBQ chops, I decided to mix it up a bit and make stir fry. I started with four pork chops and marinated them for several hours in a large bowl filled with POM juice and a teaspoon of onion powder and garlic powder.

When it was time to make dinner, I threw the rice in the rice cooker (my splurge when I found out I received my new job) and cubed the pork.  I added a bag of stir fry veggies and then topped it with the sauce outlined below.  It all came together very quickly and was quite tasty.  Definitely a recipe I’ll be making again.

POM Pork Stir Fry
Author: 
Prep time: 
Cook time: 
Total time: 
Serves: 4
 
Ingredients
  • 4 lean pork chops
  • 1 bottle POM juice
  • 1 tsp onion powder
  • 1 tsp garlic powder
  • 2 Tbsp olive oil
  • 2 Tbsp soy sauce
  • 1 Tbsp cornstarch
  • 2 Tbsp rice vinegar
  • 1 tsp sesame oil
  • 1 tsp minced garlic
  • 3 Tbsp POM juice
  • 1 - 16 oz bag frozen stir fry vegetables
  • rice, prepared
Instructions
  1. -5 hours before cooking (or overnight), place the pork chops in a large bowl or Ziplock back and cover with POM juice, onion powder, and garlic powder. Be sure to reserve at least 3 Tbsp. of the POM juice for the sauce. Return the pork to the fridge.
  2. To prepare, remove the pork from the marinade and cube. Heat 2 Tbsp. olive oil over medium heat and sear the pork. When the pork is seared, add the frozen vegetables. While the vegetables and pork are cooking, prepare the sauce. In a small bowl combine soy sauce, cornstarch, rice vinegar, sesame oil, minced garlic, and POM juice. When your meat is cooked through and the vegetables are almost at your desired consistency pour the sauce over the top and allow to thicken slightly. Serve over rice.

The trio isn’t a big fan of stir fry, so served their meal components separately — I picked out pieces of pork, which they all liked. And they ate the rice plain.  Anna is my only veggie eater, and she enjoyed the broccoli as well.


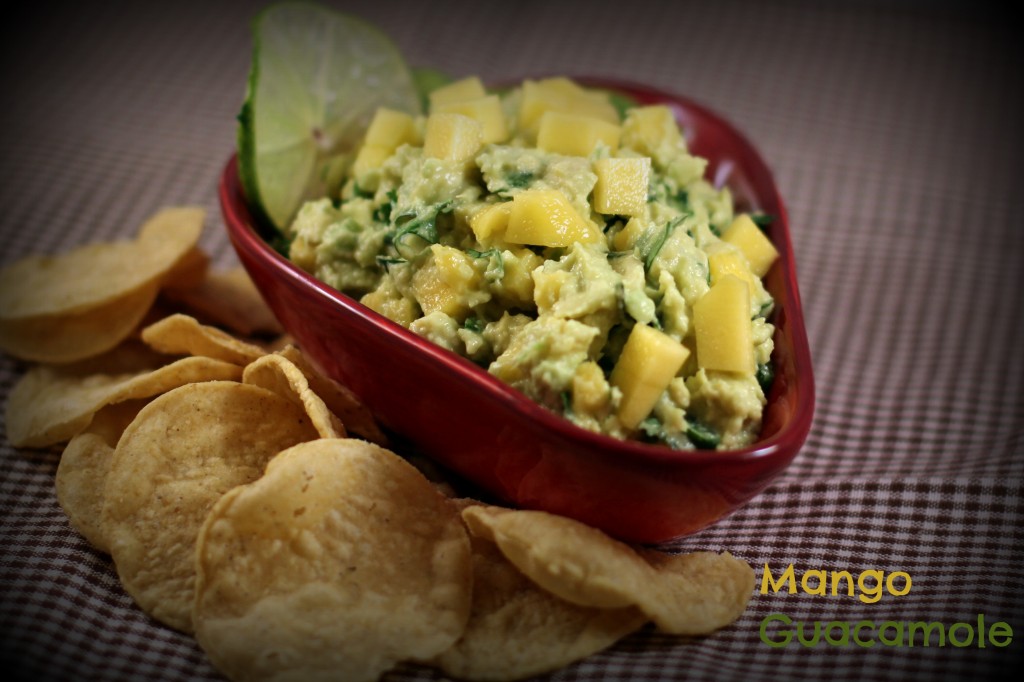
Mango Guacamole

In continuing our love affair with Mexican food – we’ve been eating a Mexican meal at least one or two nights a week – usually paired with guacamole of some sort.  While the BLT guacamole is still my favorite, this mango guacamole is a great change of pace and still very delicious.

While the trio loved avocado when they were babies, none of them will touch it now.  They are quick to say, “Guacamole!!  Yuck!”  Bo started it and of course the girls copy him.  They don’t know what they are missing — and until they figure it out, Mike and I will just have to choke down the entire recipe by ourselves at each meal.  Oh, the humanity. 😉

Mango Guacamole
Author: 
Prep time: 
Total time: 
Serves: 4
 
Ingredients
  • 3 ripe avocados
  • ½ small red onion, chopped
  • 1 fresh serrano chile, chopped
  • 2 Tbsp. cilantro
  • 1 Tbsp. lime juice
  • 1 large ripe mango, chopped
  • salt
Instructions
  1. Mash the avocado. Rinse the red onion and add to the avocado with the chile, cilantro, lime juice, and mango. Stir to combine and taste and season to taste with salt. Serve with tortilla chips. Delish!