Double Chocolate Banana Bread

Chocolate Banana Bread.jpg

I might have to rename this site, “Jamie Makes Banana Bread.”  I’ve been making other recipes lately — this weekend I made Cinnamon Sugar Pecans that I thought I’d share with you — unfortunately, they don’t believe in photographs.  They tasted pretty awesome though…  Just so you know, I don’t only make banana bread…   but as I’ve said before, it is a weekly event, so when I’m in need of a recipe to make the blog look like someone cares about it, I just change it up a bit. 😉

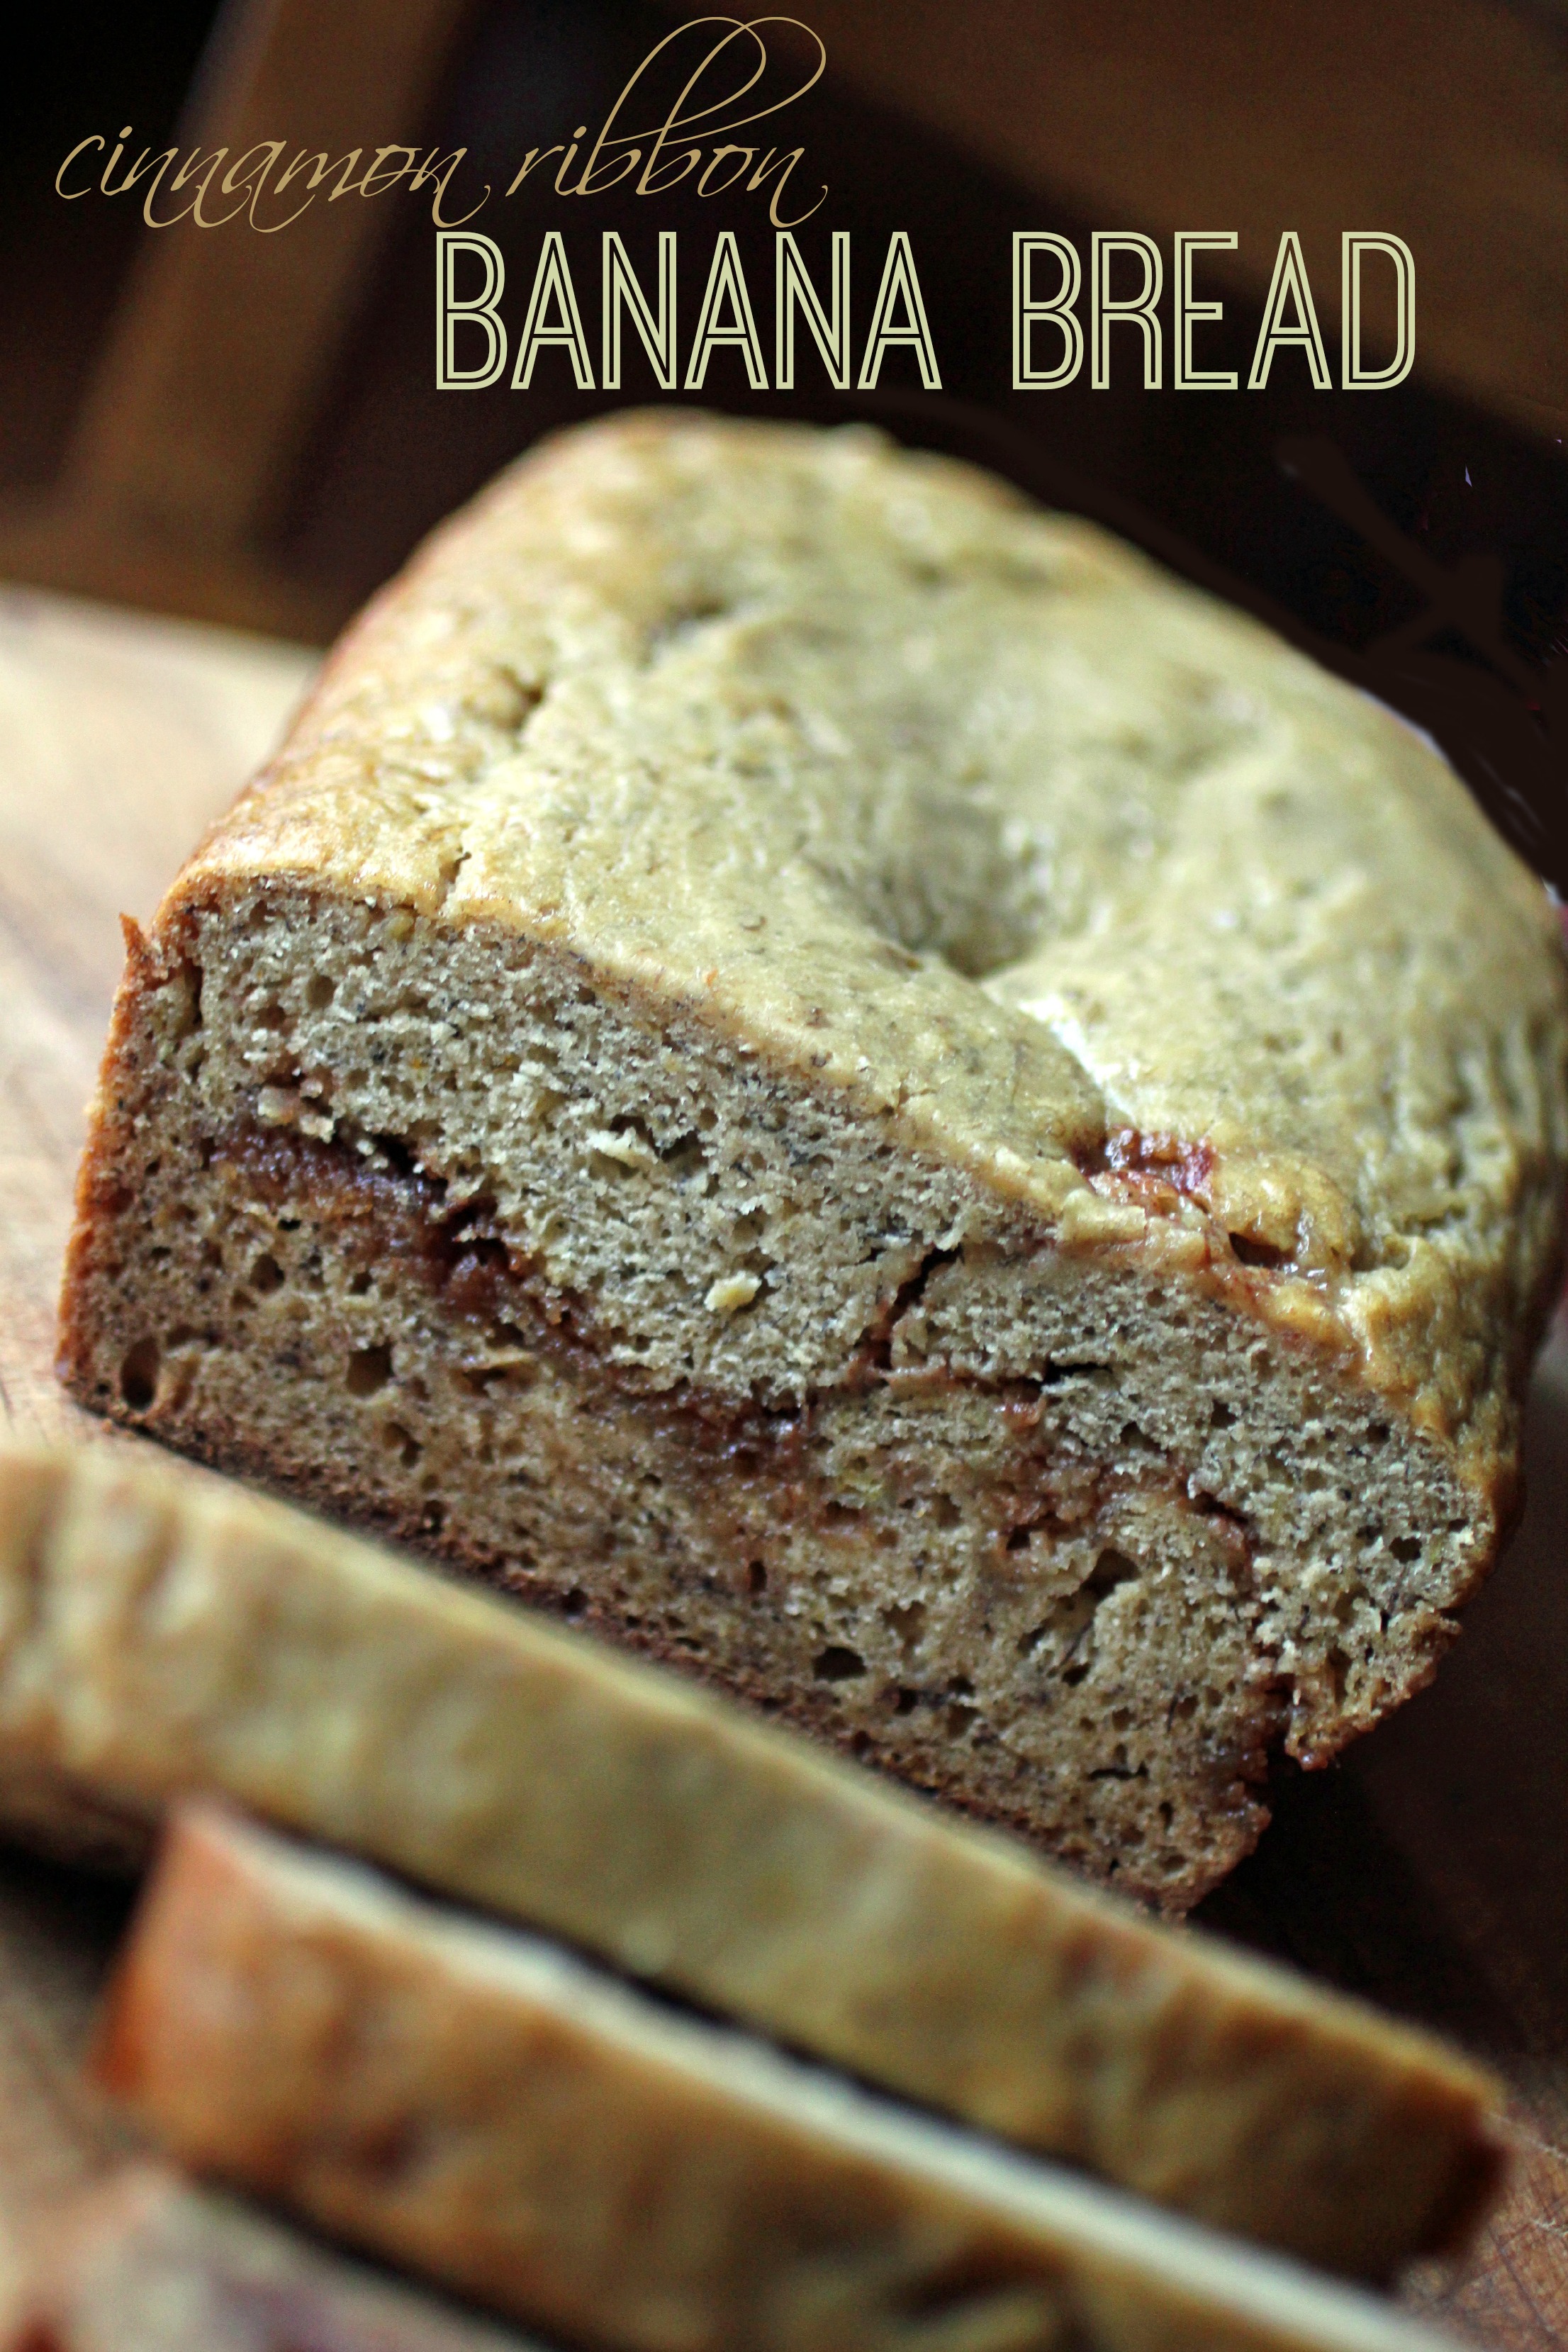
This double chocolate banana bread turned out amazing.  We had it for dessert as part of a delicious Sunday dinner.  Even though it was only in the low 30s, Mike and the kids spent a few hours outside yesterday afternoon working in the yard and running around.  We are so desperate for Spring!  After they came in we had hamburgers on the grill (Bo ate nearly two!), coleslaw, baked beans, and baked French fries — followed up by generous pieces of this banana bread (Bo also ate two — he must be growing…).  Of course the trio loved this — it was banana bread — plus it had chocolate chips.  I couldn’t really go wrong.

As with all banana bread, this was quick and easy to throw together.  The chocolate make it rich and dessert worthy.  Definitely a new keeper to add to our banana bread rotation.

Double Chocolate Banana Bread
Author: 
Prep time: 
Cook time: 
Total time: 
Serves: 8
 
Ingredients
  • 1 cup sugar
  • 2 eggs
  • ⅓ cup oil (Canola, Coconut, whatever you like)
  • 3 overripe bananas
  • 1 tsp vanilla extract
  • ½ tsp salt
  • 1 tsp baking soda
  • ½ cup cocoa powder
  • 1½ cups flour
  • 1 cup semi-sweet chocolate chips
Instructions
  1. Preheat oven to 350 and spray a loaf pan with non-stick cooking spray. In the bowl of your mixer, combine the sugar and the eggs. Add the oil and bananas until the bananas are well mashed and combined. Add the vanilla, salt, baking soda, and cocoa powder. Add the flour and mix until just combined. Fold in the chocolate chips. Pour the batter into the prepared pan and bake for 1 hour.


Cinnamon Ribbon Banana Bread

Cinnamon Banana Bread 2.jpg

At our house, banana bread is nearly a weekly occurrence.  The trio loves it.  It’s easy.  And we seem to always have ripe bananas ready for mashing on our counter.  I abide by the philosophy that one can never have too many bananas…

Since I make banana bread so often, I’m also often looking for ways to change it up a bit and this banana bread has a delightful cinnamon ribbon in the middle that gives it just a bit of crunch and extra cinnamony goodness.  This recipe makes two loaves, but it could easily be halved to only make one.

The trio and I had it for dessert last night and again this morning for breakfast.  It was a huge hit — and they appreciated the cinnamon ribbon.  Anna thought it tasted like a cookie.  Bo exclaimed that it was the best banana bread ever — but he often says that.  And Clara licked the plate, which I took as a compliment instead of poor manners.

Cinnamon Ribbon Banana Bread
Author: 
Prep time: 
Cook time: 
Total time: 
Serves: 10
 
Ingredients
  • 4 cups flour
  • 1½ tsp. baking soda
  • 1 tsp. salt
  • 2 tsp. cinnamon
  • 1 cup light brown sugar
  • 1 stick butter, unsalted, softened
  • 4 large eggs
  • 2 tsp. vanilla
  • 6 small/medium sized overripe bananas
  • ½ cup yogurt
  • ½ cup sugar
  • 2 tsp. cinnamon
Instructions
  1. Preheat oven to 350. Prepare two loaf pans by spraying with Baking PAM and place them on a cookie sheet. In a large bowl, combine the flour, baking soda, salt, and cinnamon. Set aside. In a stand mixer, combine the butter and brown sugar and mix well. Add the eggs, one at a time and then add the bananas. Mix until the bananas are no longer lumpy. Add the yogurt (you can use any kind you have on hand -- I actually used strawberry with chunks that the kids don't like, but by the time it was baked you couldn't tell there was strawberry yogurt in it). Add the flour mixture until the batter is just combined. In your prepared loaf pans, spread ¼ of the batter into each. In a small bowl, combine the sugar and cinnamon. Sprinkle ½ of the sugar/cinnamon mixture over each half loaf. Spread ¼ of the remaining batter on top of each of the loaves. Bake for 50-55 minutes or until golden brown and mostly set.


Homemade Sugar Cookies

Sugar Cookies

While we were all home for Christmas break, we made sugar cookies with the trio.  Of course, decorating them was completely messy, but it’s become a Christmas tradition at our house.  This cookie recipe is my favorite because the dough doesn’t have to be chilled, it’s easy to work with, and the taste is delicious (the secret ingredient is the almond extract!).  These are perfect for any type of cutout cookies — they don’t have to only be made at Christmas.

I made yellow, blue, green, red, and white icing (just add food coloring) and the trio had a lot of fun decorating them.  I had several different types of sprinkles, squeeze bottles, and bowls of icing that they shared.  Santa was left three of their masterpieces and there were two carrots for the reindeer.

Homemade Sugar Cookies
Author: 
Prep time: 
Cook time: 
Total time: 
Serves: 24
 
Ingredients
  • 1 cup butter, softened
  • 1 cup white sugar
  • 1 tsp vanilla extract
  • ½ tsp almond extract
  • 1 egg
  • 2 tsp baking powder
  • 3 cups flour
Instructions
  1. Preheat oven to 350. Using a stand mixer, cream the butter and sugar. Add extracts and eggs. Add the baking powder and then add the flour a bit at a time. The dough does not need to be chilled. Divide into several batches and roll onto a floured surface to cut. They should be ⅛ to ¼th of an inch thick. Place on cookie sheets lined with parchment paper and bake for 6 to 8 minutes.
  2. Decorate however you choose -- the trio used royal icing and sprinkles.


Clara sugar cookies Sugar Cookies 2 Anna making sugar cookies Christmas cookies 3 Bo sugar cookies

Dark Chocolate Mint Fudge

Mint Fudge

I wasn’t planning to post again before Christmas but I made this dark chocolate mint fudge on Friday evening and it’s too sinful not to share.  This fudge is very simple to make and tastes decadent and indulgent.  If you’re looking for a last minute gift or just something to enjoy with your family, this is perfect.

Mike and I have been enjoying our time off with the kids.  We’ve built forts and Lego creations, cuddled on the couch while watching Polar Express, and cooked plenty of yummy food.  Today, we’re going to the movies to see Frozen.  The countdown to Santa is in full swing and we’re enjoying every minute. I hope you’re enjoying the season as well.

I love the combination of chocolate and mint — but during the holidays it seems to taste even better.

Dark Chocolate Mint Fudge
Author: 
Prep time: 
Cook time: 
Total time: 
Serves: 24
 
Ingredients
  • 3 - 10 oz. bags dark chocolate chips
  • 1 - 10 oz. bag Andes mint baking chips
  • 1 Tbsp. butter
  • 1 can sweetened condensed milk
  • ½ to 1 cup heavy whipping cream
  • ¼ tsp. peppermint extract
  • ⅛ tsp. vanilla extract
  • ¼ tsp. salt
Instructions
  1. Spray a 9 x 13 inch pan with cooking spray or line with foil. In a large saucepan, heat the butter over low heat. Once the butter has melted, add the sweetened condensed milk, dark chocolate chips, and 1 cup of the Andes chips. Stir constantly until the chocolate has melted. Add the heavy cream ⅛th of a cup at a time and continue stirring until the chocolate no longer looks granulated and appears more glossy. It should look like thick, glossy, chocolate cake batter. You do not want it to be too thin. Remove from heat and add the salt and extracts. Pour the hot mixture into the prepared 9x13 pan and smooth. Top with remaining Andes chips. Refrigerate for several hours until set.

Mint Fudge 2

Pumpkin Mini-Chocolate Chip Bars

Things have been crazy here at the Five Wooden Spoons house — you’ve probably noticed that I haven’t posted a recipe in eons.  Well — this is due to a lot of factors — too much work, three kiddos with school and activities, and I’ve just felt uninspired to photograph food lately.  I’m still cooking — we have to eat — but I just never love the photos I take, so then I stop taking them.

Ultimately, no one cares (but me…) if my photos are perfect.  So I just need to get over it. Hence, another imperfect photo.

I’ve also been busy being social.  We constantly have something going on with friends these days – which is definitely a good thing!  Last Friday, I hosted a “Mom’s Night Sleepover” at my house.  I invited a big group of moms to my house in their pjs or yoga pants to eat, relax, and chat.  We had good intentions of playing a game, but that never happened. Three of us – Jamie, Jocelyn, and myself — somehow stayed awake the entire night.  I was awake and going for just over 31 hours before I convinced Bo to take a nap with me.  Crazy.

But anyway, for the sleepover, I made these pumpkin mini-chocolate chip bars and they were delicious.  Bo and I cut them into squares and ate all of the edges before the moms arrived.  These are perfect for fall and were perfect for a gathering.

Pumpkin Mini-Chocolate Chip Bars
Author: 
Prep time: 
Cook time: 
Total time: 
Serves: 12
 
Ingredients
  • 2 cups all-purpose flour
  • 2 tsp. pumpkin-pie spice
  • 1 tsp. baking soda
  • ¾ tsp. salt
  • 2 sticks butter, at room temperature
  • 1¼ cups granulated sugar
  • 1 large egg
  • 2 teaspoons vanilla extract
  • 1 can pumpkin puree
  • 1 cup semi-sweet mini-chocolate chips
Instructions
  1. Preheat oven to 350 degrees. Spray a 9x13 pan with Baking Pam. Cream the butter and sugar until smooth. Add the egg, vanilla, and pumpkin. Reduce speed and add dry ingredients until just combined. Fold in the mini-chips. Spread the batter in the pan and bake for 35-40 minutes.


Cinnamon Crumb Cake

School is officially in full-swing and that means my schedule of weekly breakfast dates with a few of my favorite people is also revamping.  Laura and I are meeting up on Wednesday mornings for breakfast and conversation before I work and she heads to the library with her youngest, Cara, who isn’t in school yet.

After talking about it for weeks, I finally made this delicious cinnamon crumb cake this week for our breakfast.  Bo and I were both up at 6 and he helped me make it.  My first attempt I was still asleep and used powdered sugar instead of flour — needless to say by the time it was ready for the oven I realized something wasn’t quite right!  We started over and still had delicious crumb cake for the trio to eat for breakfast and then to share with Laura and Cara after school drop-off.  And yes, I finally bought labels for my pantry staples this week — nothing like a complete disaster to finally motivate that purchase!

This cinnamon crumb cake is very easy to pull together — even for a weekday morning breakfast.  It tastes amazing — and extra special!  It’s perfect with coffee.  Or Coca-Cola if you ask Laura. 😉

This recipe received rave reviews from all who tried it!  Five Wooden Spoons for this one!

Cinnamon Crumb Cake
Author: 
Prep time: 
Cook time: 
Total time: 
Serves: 12
 
Ingredients
  • Batter Base and Topping:
  • 1 cup canola oil
  • 1 cup brown sugar
  • ½ cup white sugar
  • 2½ cups flour
  • 1 tsp salt
  • Additions to the Batter Base after removing one cup for the topping:
  • 1 cup buttermilk (or 1 cup milk plus 1 Tbsp. white vinegar)
  • 1 egg
  • 1 tsp. baking soda
  • 1 tsp cinnamon
  • 1 tsp nutmeg
  • Additions to the topping:
  • 1 tsp. cinnamon
  • 2 Tbsp. Flour
  • 2 Tbsp. Sugar
  • Glaze:
  • ½ cup powdered sugar
  • 1 Tbsp. milk
Instructions
  1. Preheat oven to 350. Spray a 9 x 13 inch pan with PAM baking spray. In a large bowl, combine oil, brown sugar, sugar, flour, and salt. Mix well. Remove one cup of mixture into another smaller bowl before adding buttermilk, egg, baking soda, cinnamon, and nutmeg. Pour this mixture into the prepared pan.
  2. Add cinnamon, flour, and sugar to the remaining mixture and combine until crumbly. If necessary, add more flour and sugar until it reaches the desired consistency. Sprinkle the crumbs on top of the batter.
  3. Bake for 25-30 minutes.
  4. While baking, combine powdered sugar and milk. Drizzle with glaze after the cake is removed from the oven.


No Bake Cookies

No dessert takes me back to the good ole days like no-bake cookies.  They don’t photograph well, but they taste delicious!

I always think about no-bake cookies at the beginning of the school year.  I was a teacher at my hometown high school for 5 years and had the honor of teaching with my best friend, Mandy, for 3 1/2 of those years.  We had so much fun and our crazy lunches, signs in windows, and yearbook sleepovers together are some of my fondest memories.

School started this week for Mandy and it made me think about the cafeteria’s delicious no-bake cookies.  Often, Mandy and I would head to the lunch room praying that it was no-bake cookie day.  Our favorite lunch?  Noodles and no-bakes.  It doesn’t get much better!

These would be a great after-school snack or dessert for all of the littles who are going back to school over the next few weeks!  Bo starts Kindergarten on Monday and Clara and Anna start their second year of Pre-K on the 26th.  I have a feeling more of these cookies are in our near future…

No Bake Cookies
Author: 
Prep time: 
Total time: 
Serves: 12
 
Ingredients
  • 2 cups sugar
  • ½ cup cocoa
  • ½ cup milk
  • 1 tsp. vanilla
  • 1 stick butter
  • ½ cup peanut butter
  • 3 cups quick cooking oatmeal
Instructions
  1. Mix sugar, cocoa, milk, and butter in a saucepan. Boil for one minute. Remove from stove and add remaining ingredients. Drop by teaspoonfuls on to waxed paper. Let stand until firm.


Key Lime Pie

One of Mike’s favorite desserts is Key Lime Pie.  When he went to the store last week (he runs by the store after work often) he picked up ingredients for the pie and left them on the counter.  I took it as a not-so-subtle hint that he wanted a piece of Key Lime Pie in the near future.

The best part about Key Lime Pie is it is super quick and easy to make — but seems much more fussy.  It’s literally a 20 minute recipe and most of that is baking time!

Key Lime Pie
Author: 
Prep time: 
Cook time: 
Total time: 
Serves: 8
 
Ingredients
  • 1 prepared graham crust
  • 1 can sweetened condensed milk
  • ½ cup key lime juice
  • 4 egg yolks
  • dash of green food coloring
Instructions
  1. Preheat oven to 375. In a medium bowl, beat together the egg yolks, key lime juice, sweetened condensed milk, and the food coloring. Pour into the graham crust. Bake for 15 minutes. Refrigerate before serving for at least 2 hours.


Homemade Cherry Pie

We just returned from spending a week with our favorite family — The Kilmartin’s — on a week-long vacation in Michigan.  We rented a house a block from Lake Michigan and enjoyed hours at the beach.

One of our adventures was cherry picking.  We went to Jollay Orchards by St. Joseph, Michigan and rode on a hay ride back to the sour cherry trees to pick.  None of us had ever been cherry picking before and we — including the kids — quickly filled two buckets with fresh cherries.  Even the Kilmartin’s youngest, Cara, was in on the action.

Luckily, the orchard had a pitting machine so we had the cherries pitted and then took them back to our house and I threw together a cherry pie.  I had to substitute a bit from a traditional recipe because we didn’t have lemon juice, but the pie turned out to be delicious.

Since we were on vacation, I didn’t make the crust from scratch — opting to cheat and use the packaged crusts.  But if I would have been home, with all of my flour, baking soda, and the like I would have made Dorie Greenspan’s pie crust.  It’s the only one I’ve ever made successfully!

Homemade Cherry Pie
Author: 
Prep time: 
Cook time: 
Total time: 
Serves: 8
 
Ingredients
  • 5 cups fresh sour cherries, pitted
  • 1 cup sugar
  • 3 heaping tablespoons cornstarch
  • 2 tablespoons orange juice
  • 1½ teaspoons vanilla
  • 2 tablespoons milk
  • 2 tablespoons sugar
Instructions
  1. In a large bowl, combine the sugar, cornstarch, juice, and vanilla to form a paste. Add the cherries and coat.
  2. Pour the cherry mixture into the bottom crust of the pie and then cut the top crust into strips to form a lattice pattern. Brush the lattice with milk and sprinkle with sugar.
  3. Bake at 425 for 45 minutes.


Bananas Foster Muffins

Sorry for the hiatus.  Vacation.  Work.  Summer break.  A brief stint in hard-core low-carbing.  None of it has been conducive to a cooking blog.

The trio and I have been going on outings on Tuesdays and Thursdays to enjoy summer.  Last Tuesday, we headed to Bloomington to go to Chuck E. Cheese with the Kilmartin’s — but before we headed out I whipped together these bananas foster muffins for breakfast with overripe bananas that were calling me from my countertop.  I’m always looking for new ways to use up old bananas…

These muffins were a hit with the trio — they all loved them.  The flavor is perfectly bananas foster.  Delicious!  These were great for breakfast but would also make a fantastic dessert served with ice cream and real bananas foster!

Bananas Foster Muffins
Author: 
Prep time: 
Cook time: 
Total time: 
Serves: 6
 
Ingredients
  • 1 ½ cups mashed, very ripe bananas (I used 4)
  • ½ cup brown sugar
  • 1½ sticks unsalted butter, divided
  • 3 Tbsp dark rum
  • ¼ cup white sugar
  • 1 large egg
  • 1 tsp. vanilla
  • 1 tsp. cinnamon
  • 1½ cups all-purpose flour
  • 1 ½ tsp. baking soda
  • 1 tsp. salt
Instructions
  1. Preheat oven to 350. In a small saucepan, melt a stick of the butter. Add the bananas and brown sugar and caramelize. Remove from heat and add the cinnamon and vanilla. Allow to cool slightly.
  2. In a mixer, combine the remaining butter and white sugar. Add the egg and mix well. Add the cooled banana mixture, baking soda, and salt. Mix in the flour until just combined.
  3. Spray 12 muffin liners with PAM and fill ⅔rds full. Bake for 18-20 minutes.